
Studio Build Chapter: 1 | 2 | 3 | 4 | 5 | 6 | 7 | 8 | 9 | 10 | 11
The next step is interior rough-in. Now that the building is weather tight and the framing inspection is passed, I can go ahead and start wiring, insulating, and drywall. Much of this was me alone and took me quite a few evenings and weekends spread out over a couple months. I did have help at strategic times though. I never would have been able to do it all on my own.
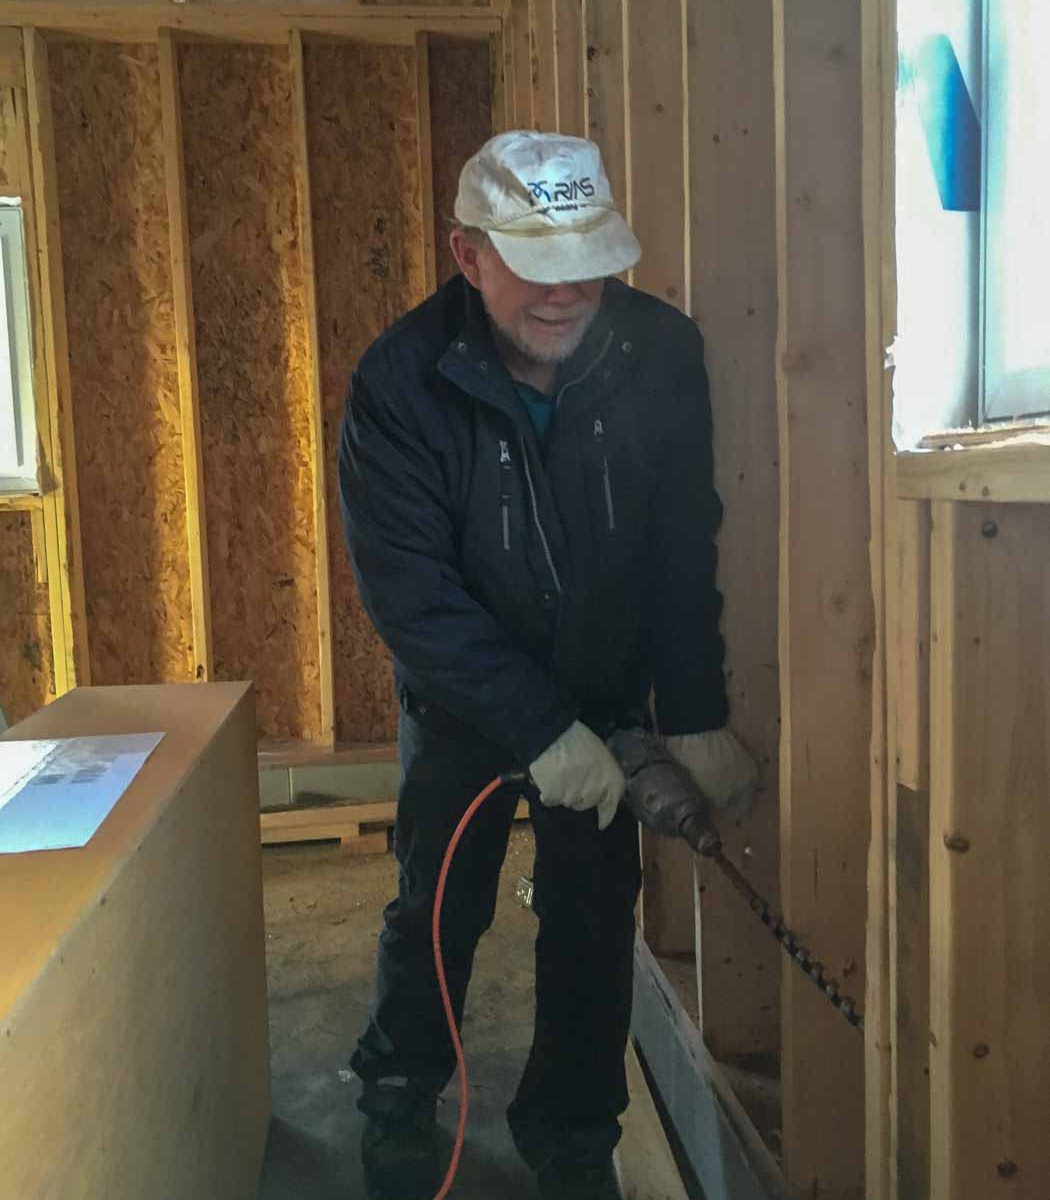
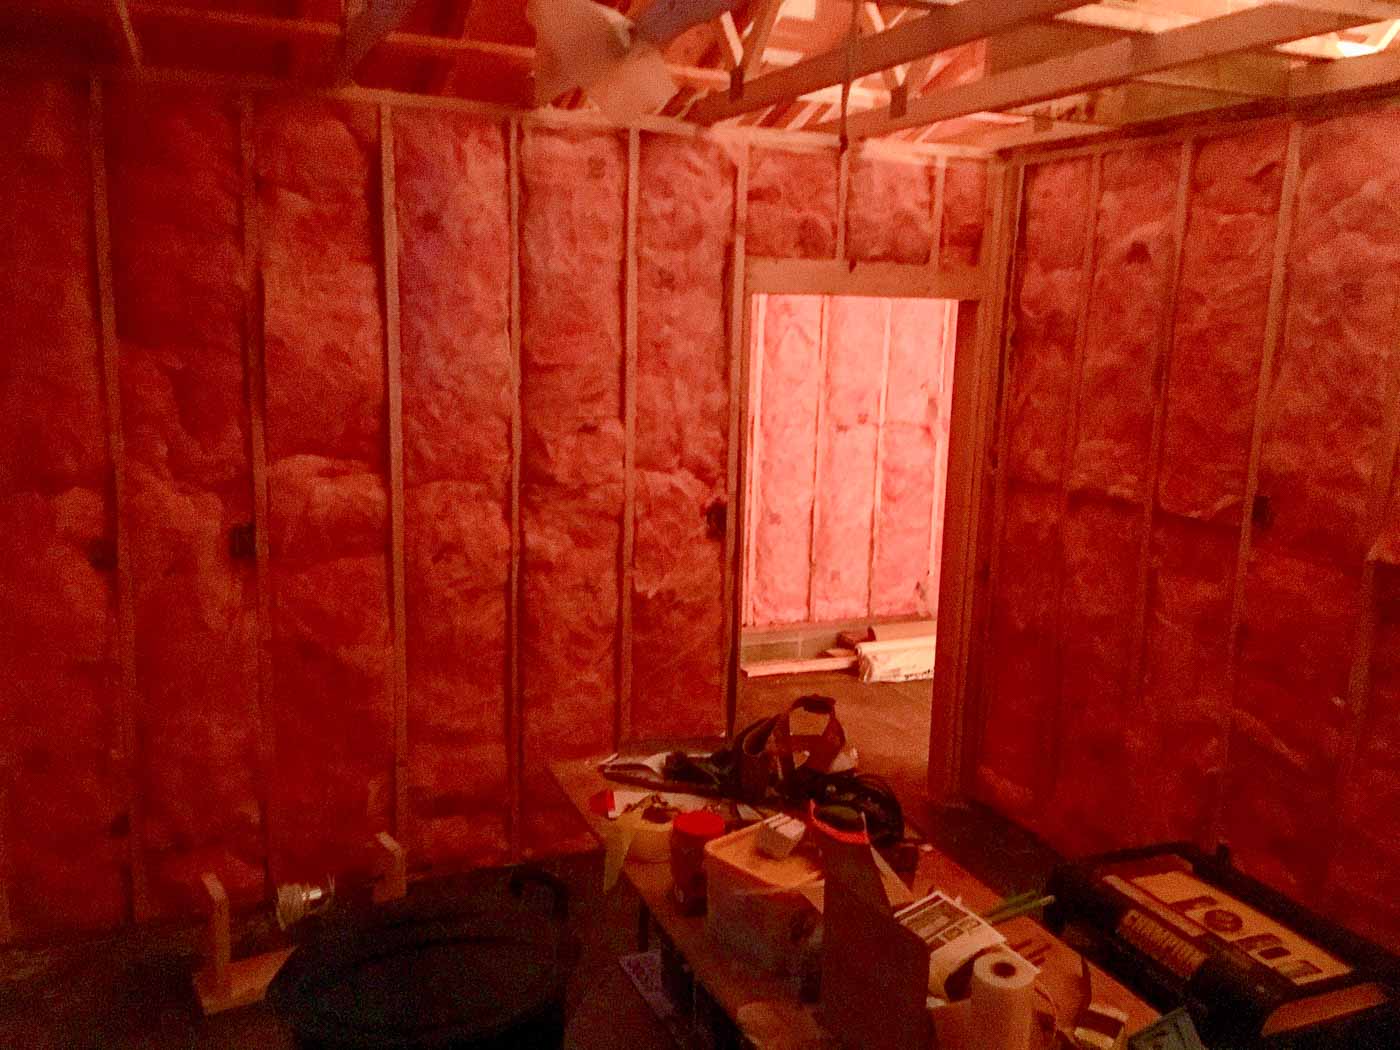
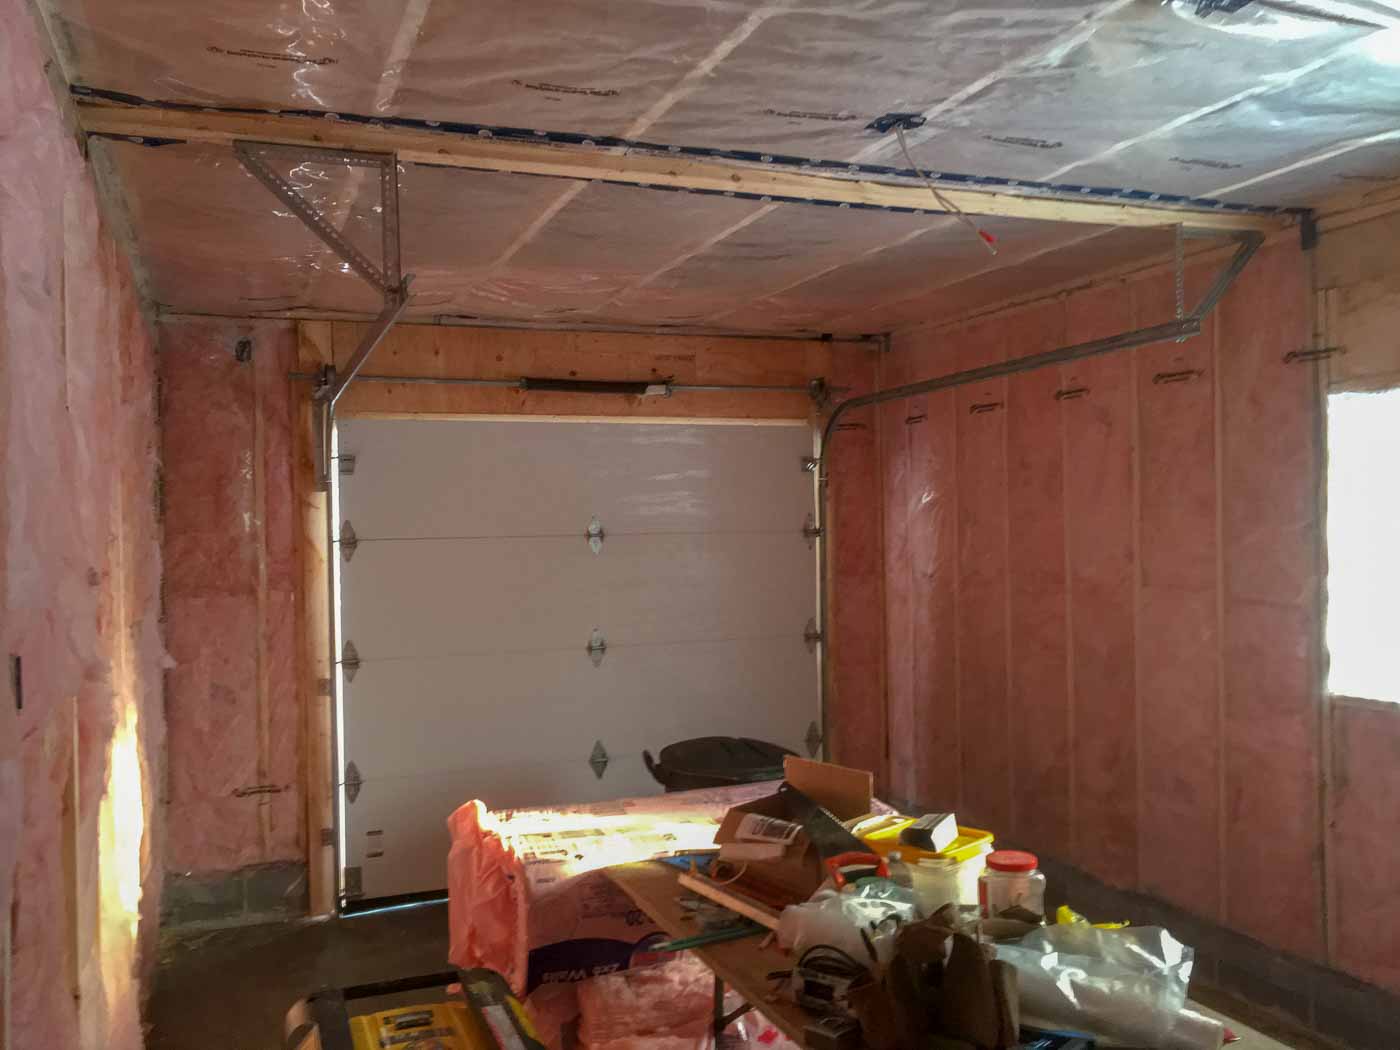
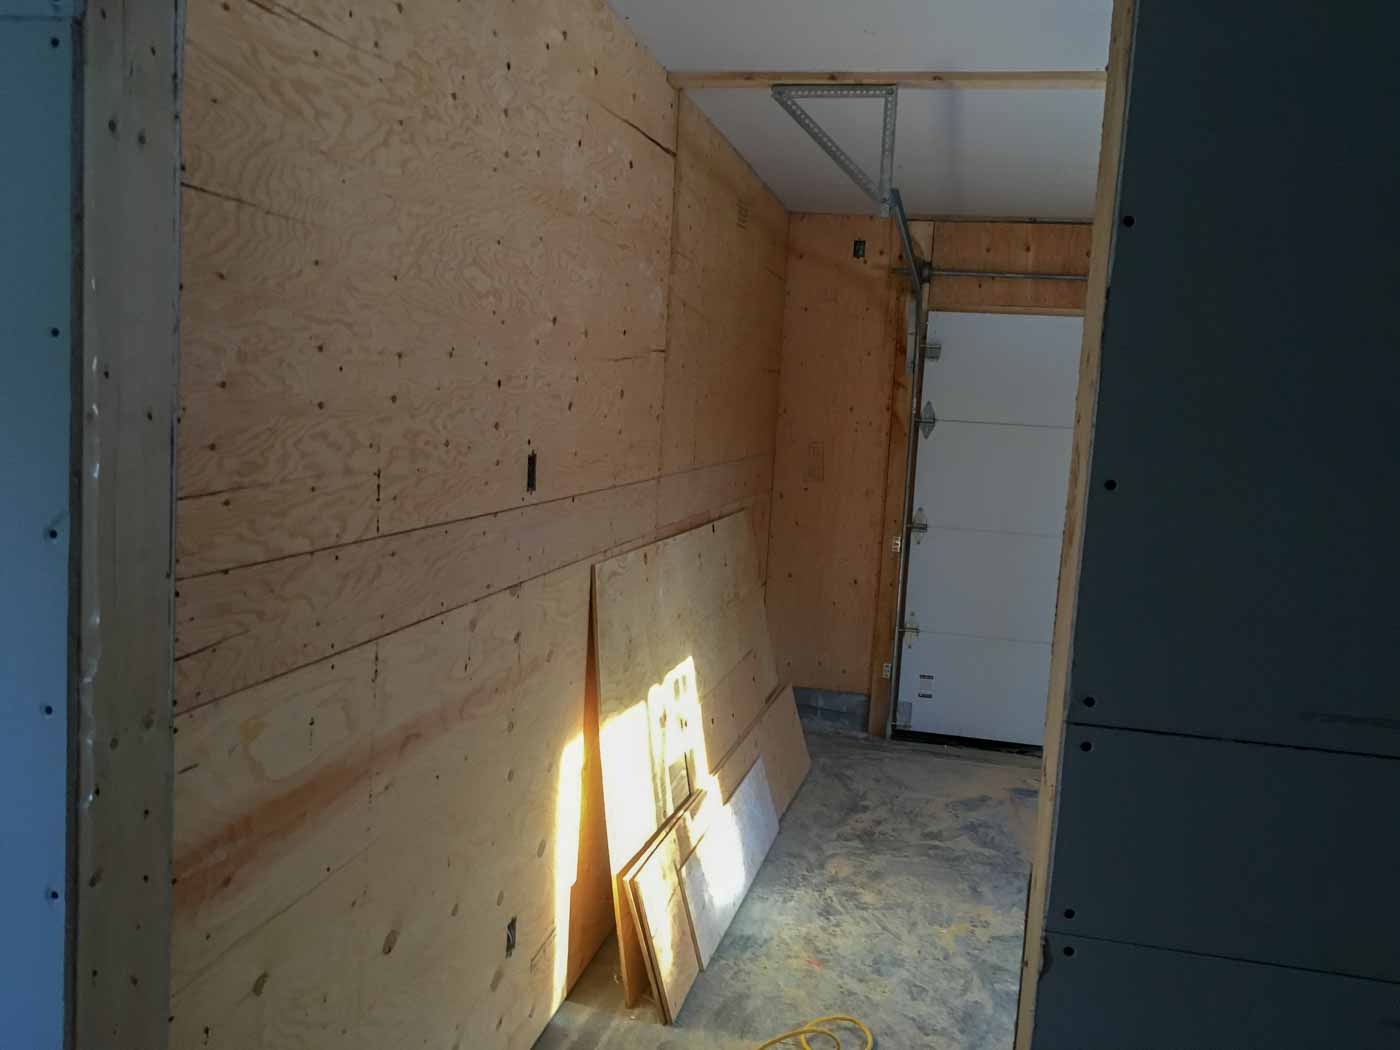
First is getting the wiring done. Winter was set in and it was cold work for me and Ken. Ken planned it out and did the drilling and pulled the first few wires. I pulled the rest of the wire as Ken tied things into the panel. After that big push, it took me a few evenings to tie in all the boxes, staple everything down, and tidy up. At that point, we could get our rough-in electrical inspection. Next was insulation and vapour barrier. That’s something I could do on my own, except the attic. My dad and I spent a miserable weekend doing that, me in the attic and him on the hopper/blower 😉
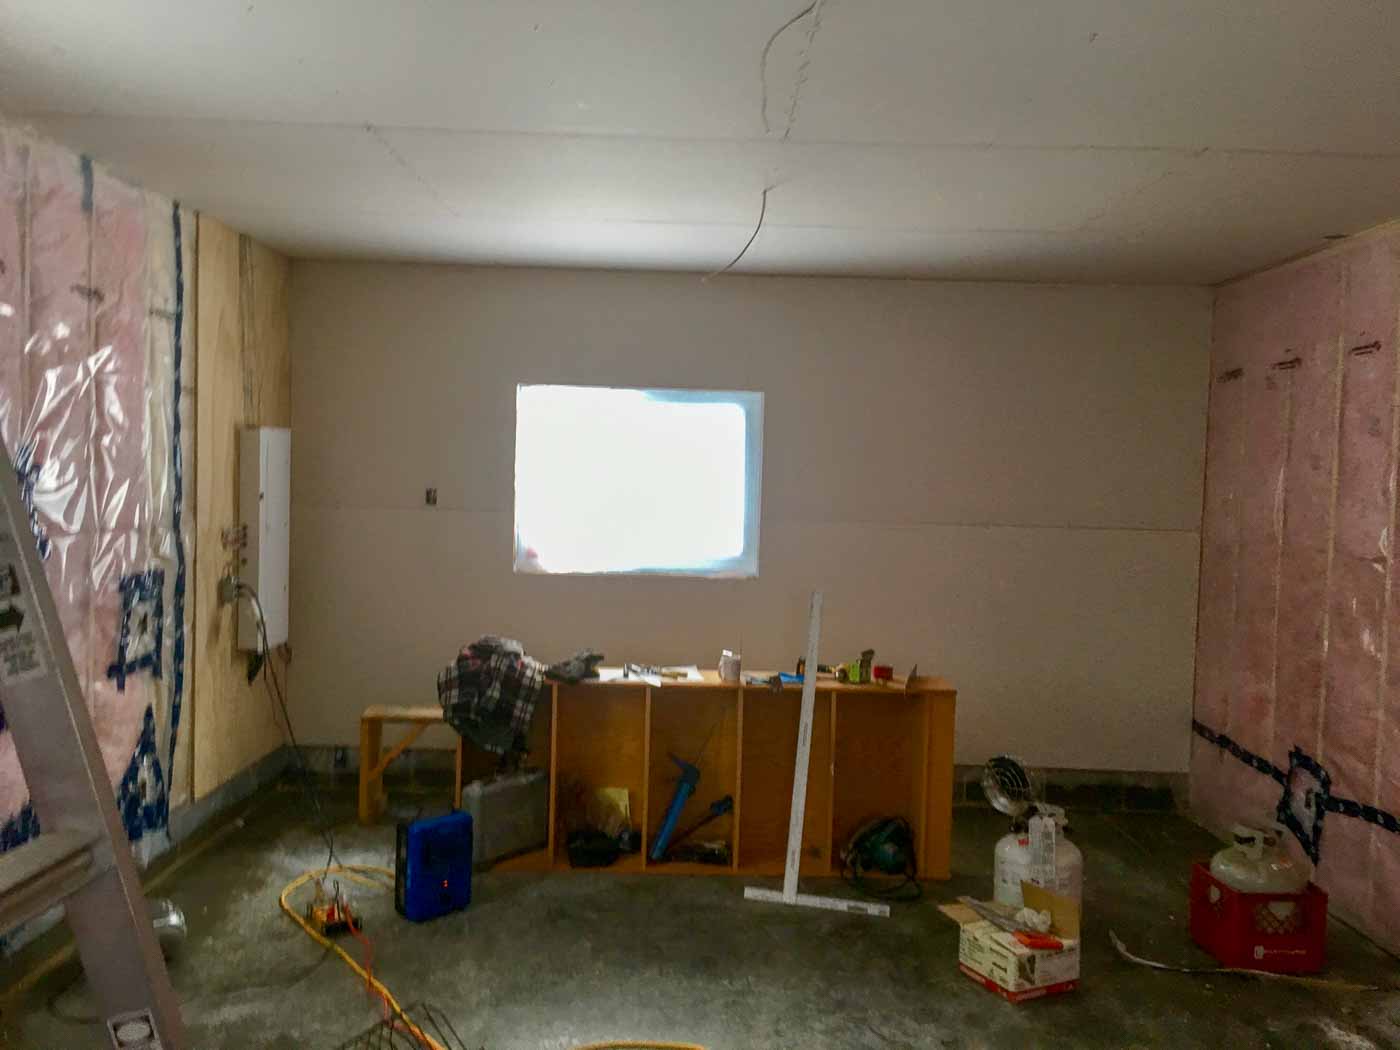
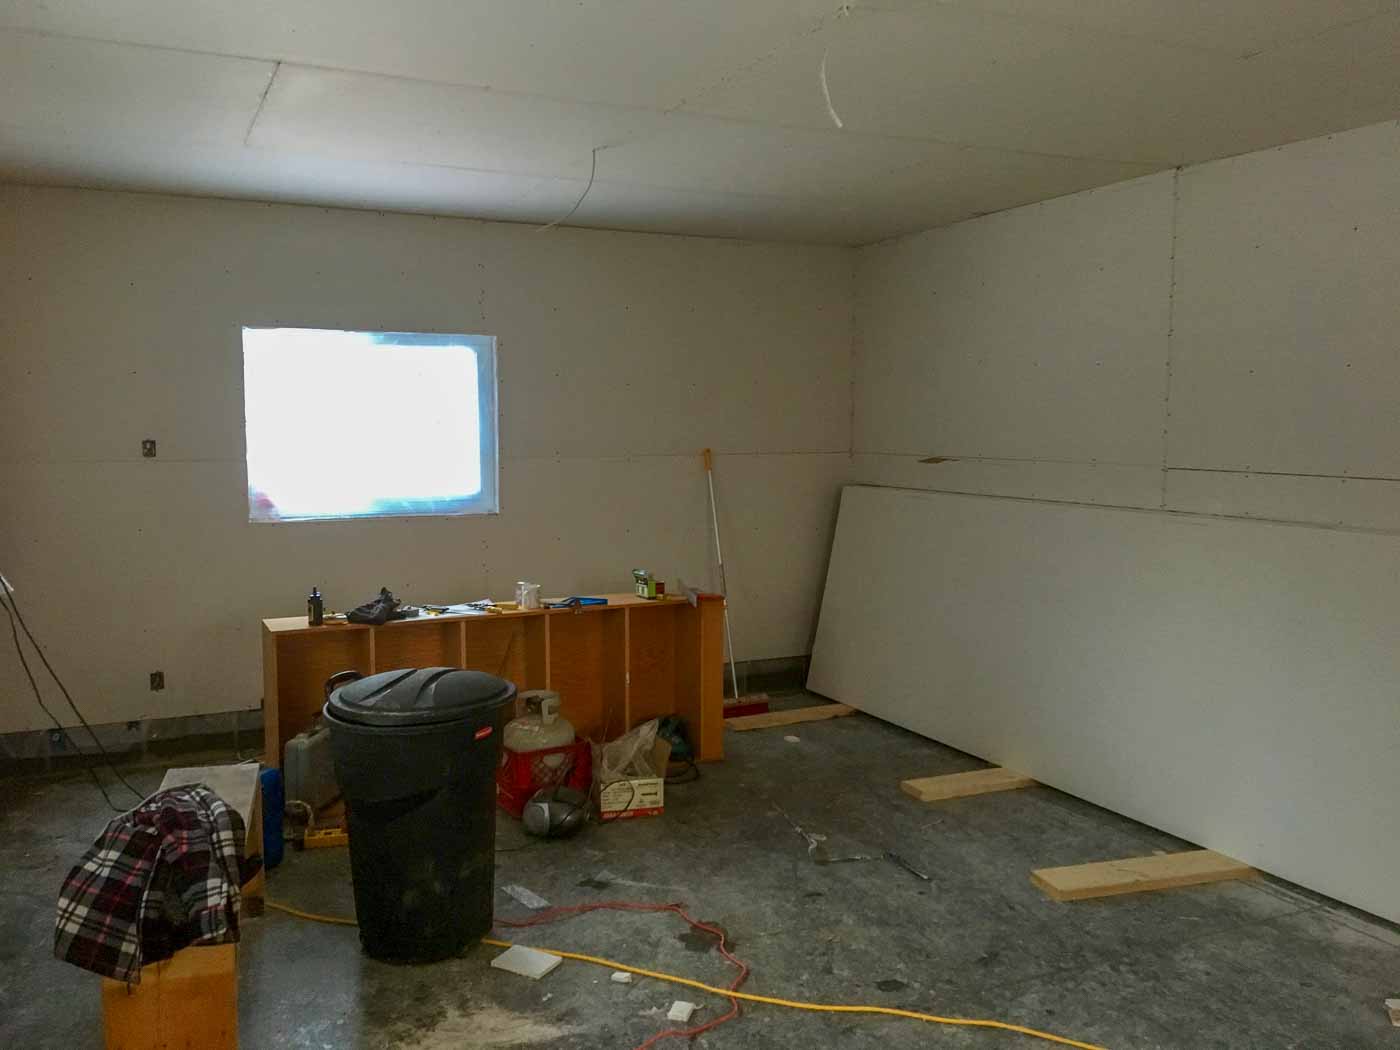
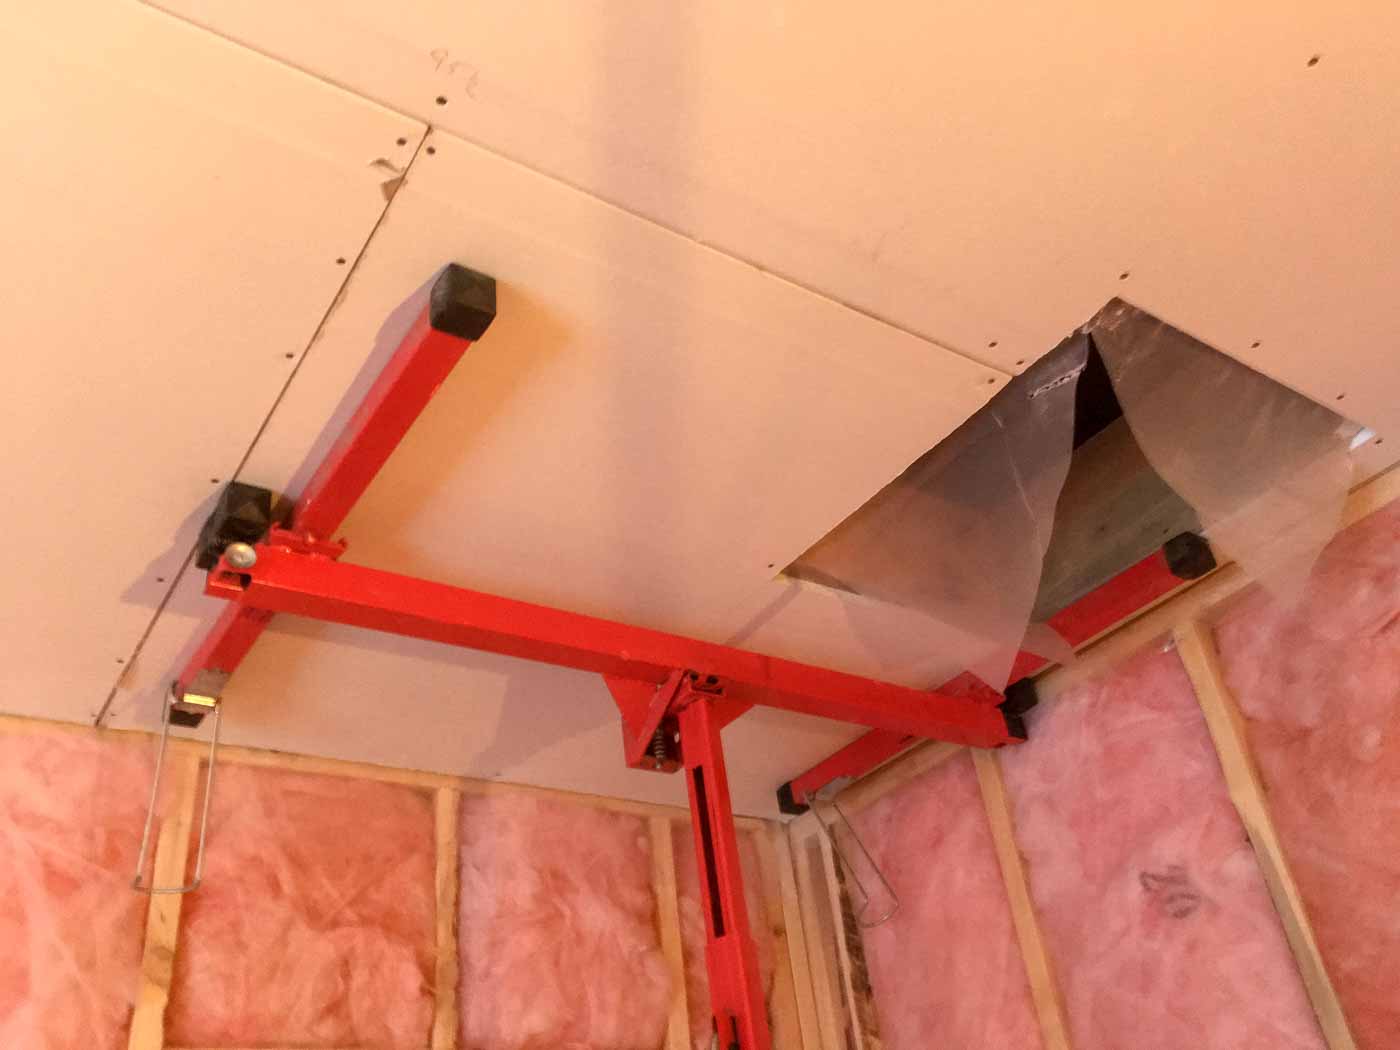
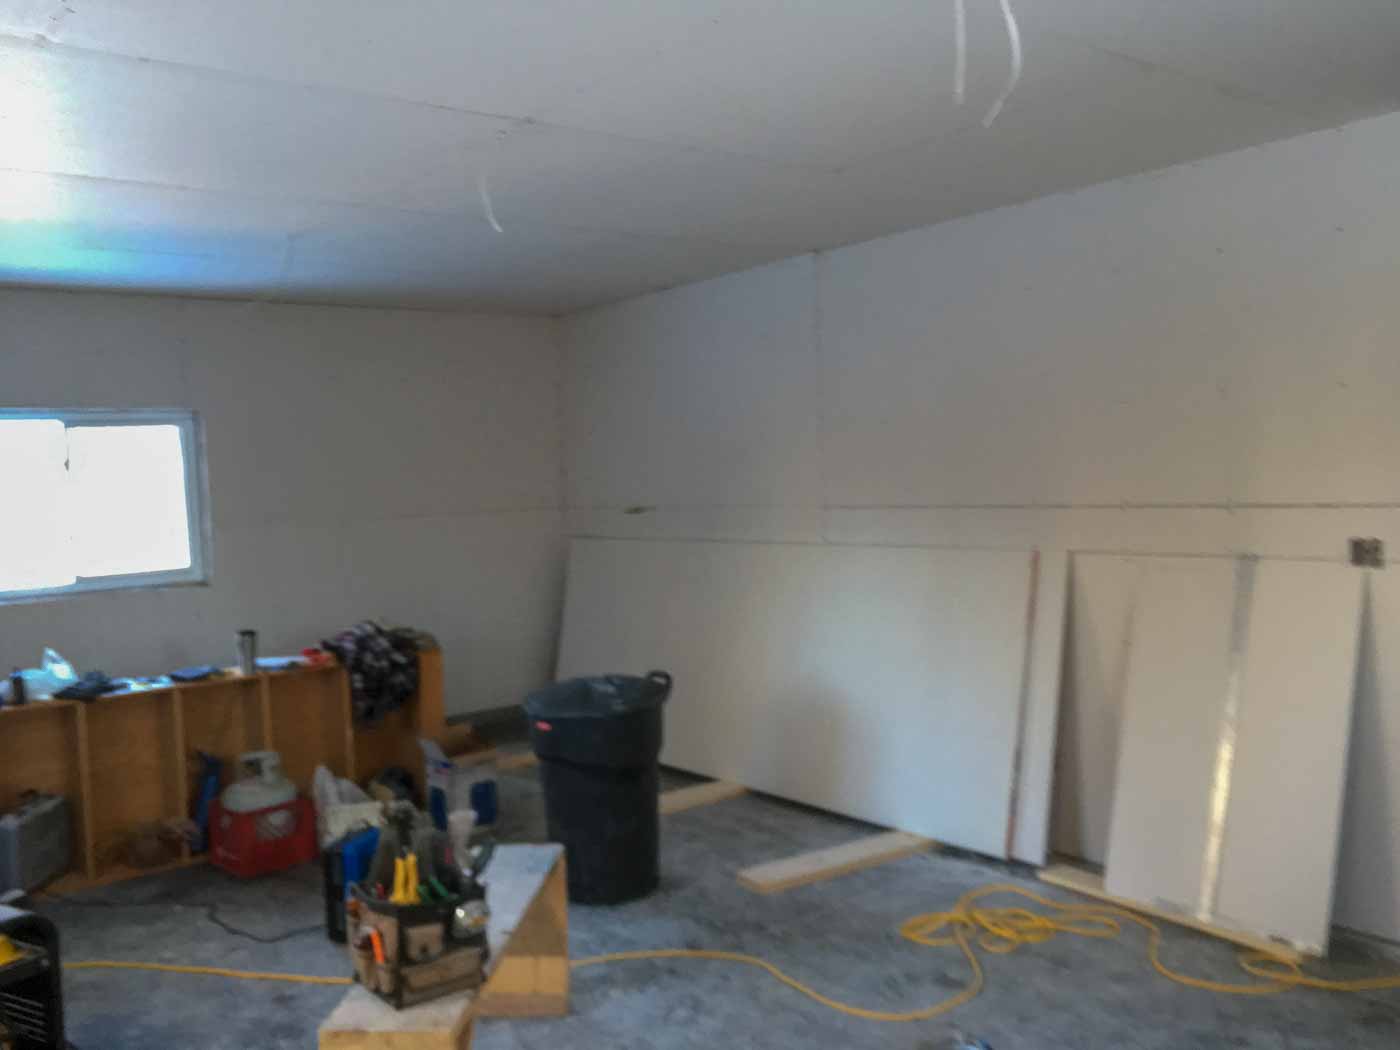
Finally, I’m ready for drywall. I was able to get a good start on this on my own, due to having Ken’s terrific drywall lift. As long as I could lift the sheet onto that, I could install it. I did have some help with the drywall at a couple points and things definitely went faster on those days 😉
Click on any thumbnail to start a slideshow


Studio Build Chapter: 1 | 2 | 3 | 4 | 5 | 6 | 7 | 8 | 9 | 10 | 11